[Originally published December 21, 2017]
Adding a sender to your Safe Sender List ensures that messages from the sender will always be delivered to your inbox including messages that have been flagged as spam. Windows users are able to configure Safe Sender Lists through both Outlook on the web (formerly OWA) and Outlook clients. macOS users can only configure Safe Sender Lists via Outlook on the web. Instructions for each are below. For detailed information about managing Junk mail settings in O365, see:
For Windows users, there are two options for adding (whitelist) single senders or entire domains to the user's Office 365 junk mail Safe Senders List.
These same options will allow you to block (blacklist) senders.
Outlook client
- In either Outlook 2016 or Outlook 2013, right-click on an email from the sender who you wish to add.
- In the menu that appears, select Junk and hover to get the sub-menu.
- If you only want to add that single sender to your safe senders list, choose “Never Block Sender.”
- Example – Sender: accountname@upenn.edu
- If you want to add all email from that domain to your safe senders list, choose “Never Block Sender’s Domain (e.g. example.com).” (Note: Adding an entire domain to your Safe Sender List could potentially result in receiving an increased amount of spam in your inbox.)
- Example – Domain: upenn.edu (see Blocked senders at Microsoft's Block or allow (junk email settings))
- If you only want to add that single sender to your safe senders list, choose “Never Block Sender.”

Outlook on the web
- In Outlook on the web (portal.office.com), click on the gears icon in the upper right to display the settings menu.
- Under “Your app settings”, click on Mail.
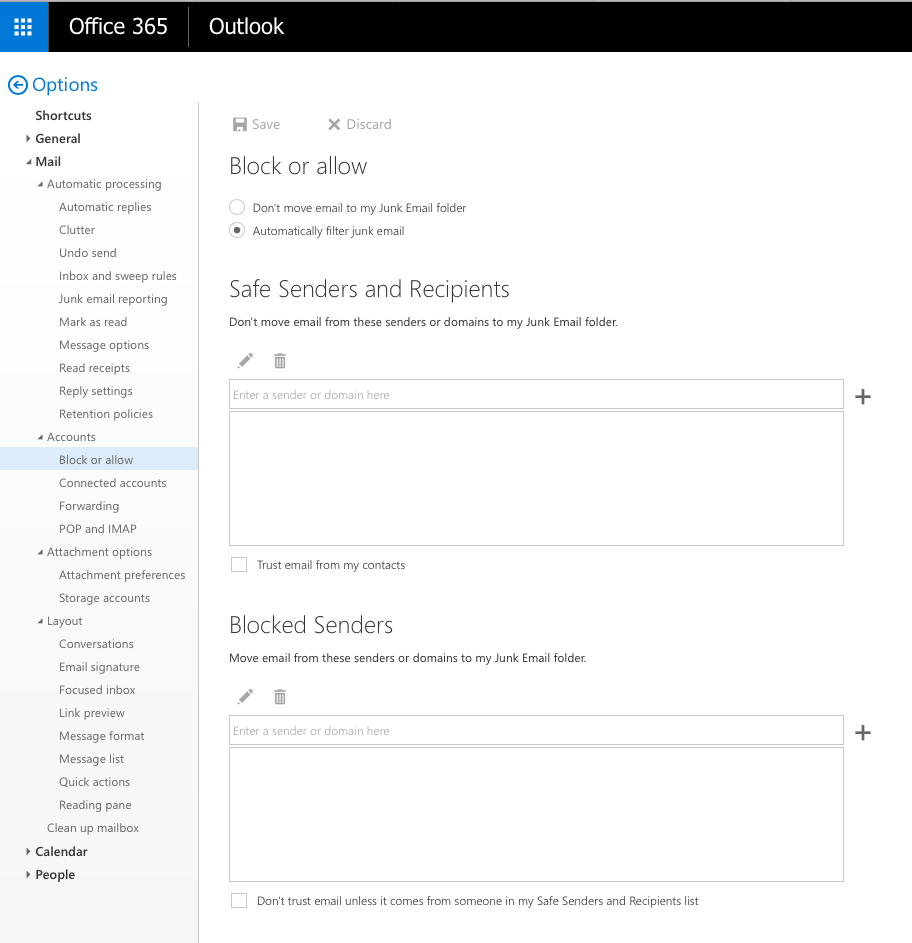
- Under the Options menu, select Block or allow
- Under Safe Senders and Recipients, enter the single sender(s) or domain(s) you wish to add to your Safe Senders list. (Note: Adding an entire domain to your Safe Sender List could potentially result in receiving an increased amount of spam in your inbox.)
- Example – Sender: accountname@upenn.edu
- Example – Domain: upenn.edu (see Blocked senders at Microsoft's Block or allow (junk email settings))
Note: If you choose, you may also check the box to automatically trust anyone in your personal Outlook contacts (people you email regularly).